Setting up a dedicated charging station for your devices can make daily life more convenient and organized. Whether you have smartphones, tablets, wireless earbuds, or wearables, a centralized spot to power them up helps reduce clutter and keeps everything ready to go. In this post, we’ll guide you through the essentials of creating a practical charging station that fits your space and needs.
Why Set Up a Charging Station?
With multiple devices demanding frequent charging, cables and chargers can quickly become tangled and scattered around the house. A charging station:
– Keeps your devices in one place
– Prevents cable clutter
– Protects devices from damage
– Makes it easy to locate chargers and cables
– Saves time by charging multiple devices simultaneously
Now let’s look at how to set one up step-by-step.
Choosing the Right Location
Selecting the ideal spot is essential for convenience and safety.
– Central and accessible: Pick a location everyone uses often, such as the kitchen counter, living room shelf, or entryway table.
– Near power outlets: Ensure there are enough electrical sockets close by to support all your chargers.
– Stable surface: Use a sturdy table, desk, or shelf that won’t easily tip over.
– Away from heat or moisture: Avoid spots near radiators or sinks for device safety.
Gathering Your Supplies
Before setting up, gather all the items you’ll need:
– Multi-port USB charger or charging hub
– Charging cables compatible with your devices
– Power strip or surge protector (if needed)
– Cable organizers (clips, sleeves, ties)
– A tray, basket, box, or DIY stand to hold devices
– Labels (optional) for cables and device spots
Selecting a Charging Hub or Multi-Port Charger
A good charging station starts with a reliable power source.
– Multi-port chargers allow you to plug in several USB cables simultaneously, reducing the need for multiple adapters.
– Look for chargers with fast charging capabilities if your devices support it.
– Consider the total wattage output to ensure it can handle all your devices.
– For Apple users, some hubs include special ports for iPhones, iPads, and AirPods.
– Wireless charging pads can be combined for devices that support Qi charging, reducing cable clutter further.
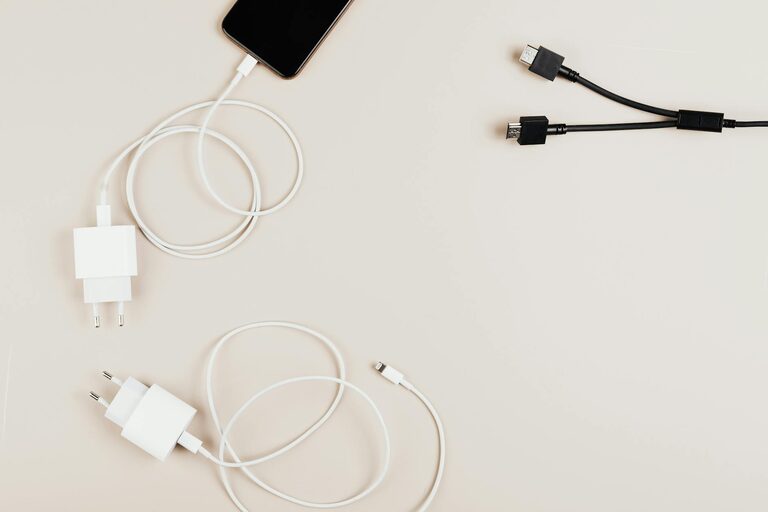
Organizing Your Cables
Tidy cables make your station look neat and prevent damage.
– Use cable clips or holders to keep cords in place and avoid tangling.
– Shorten cable length by coiling or using cable ties.
– Label cables by device type or owner to avoid confusion.
– Store extra cords out of sight in a drawer or box.
Arranging Devices for Optimal Use
Place devices thoughtfully on your charging station:
– Ensure devices have stable spots where they won’t fall.
– Group similar devices (phones in one section, tablets in another).
– Leave enough space for ventilation to prevent overheating.
– If using a charging tray or box, make sure cables are fed neatly underneath.
Safety Tips to Keep in Mind
Charging stations should be safe for your devices and home:
– Do not overload power strips or outlets.
– Use surge protectors to safeguard your electronics.
– Avoid placing chargers under pillows or blankets.
– Inspect cables and chargers for damage regularly.
– Keep the station dry and away from liquids.
Bonus Ideas for Personalizing Your Charging Station
Make your charging station match your style:
– Use decorative trays or baskets.
– Paint or customize charging stands.
– Add small labels or chalkboard tags for device spots.
– Incorporate LED lights for visibility in low light.
Maintaining Your Charging Station
Keep your station in top shape:
– Regularly clean dust and debris.
– Remove cables and devices you no longer use.
– Check for worn cords and replace if necessary.
– Update chargers as your devices change.
—
By setting up a practical charging station, your devices stay powered and organized, saving you time and hassle. With a bit of planning and the right supplies, you can create a space that works perfectly for your household’s tech needs. Start small and build your ideal setup over time!